Expert On-Site Spindle Taper Grinding
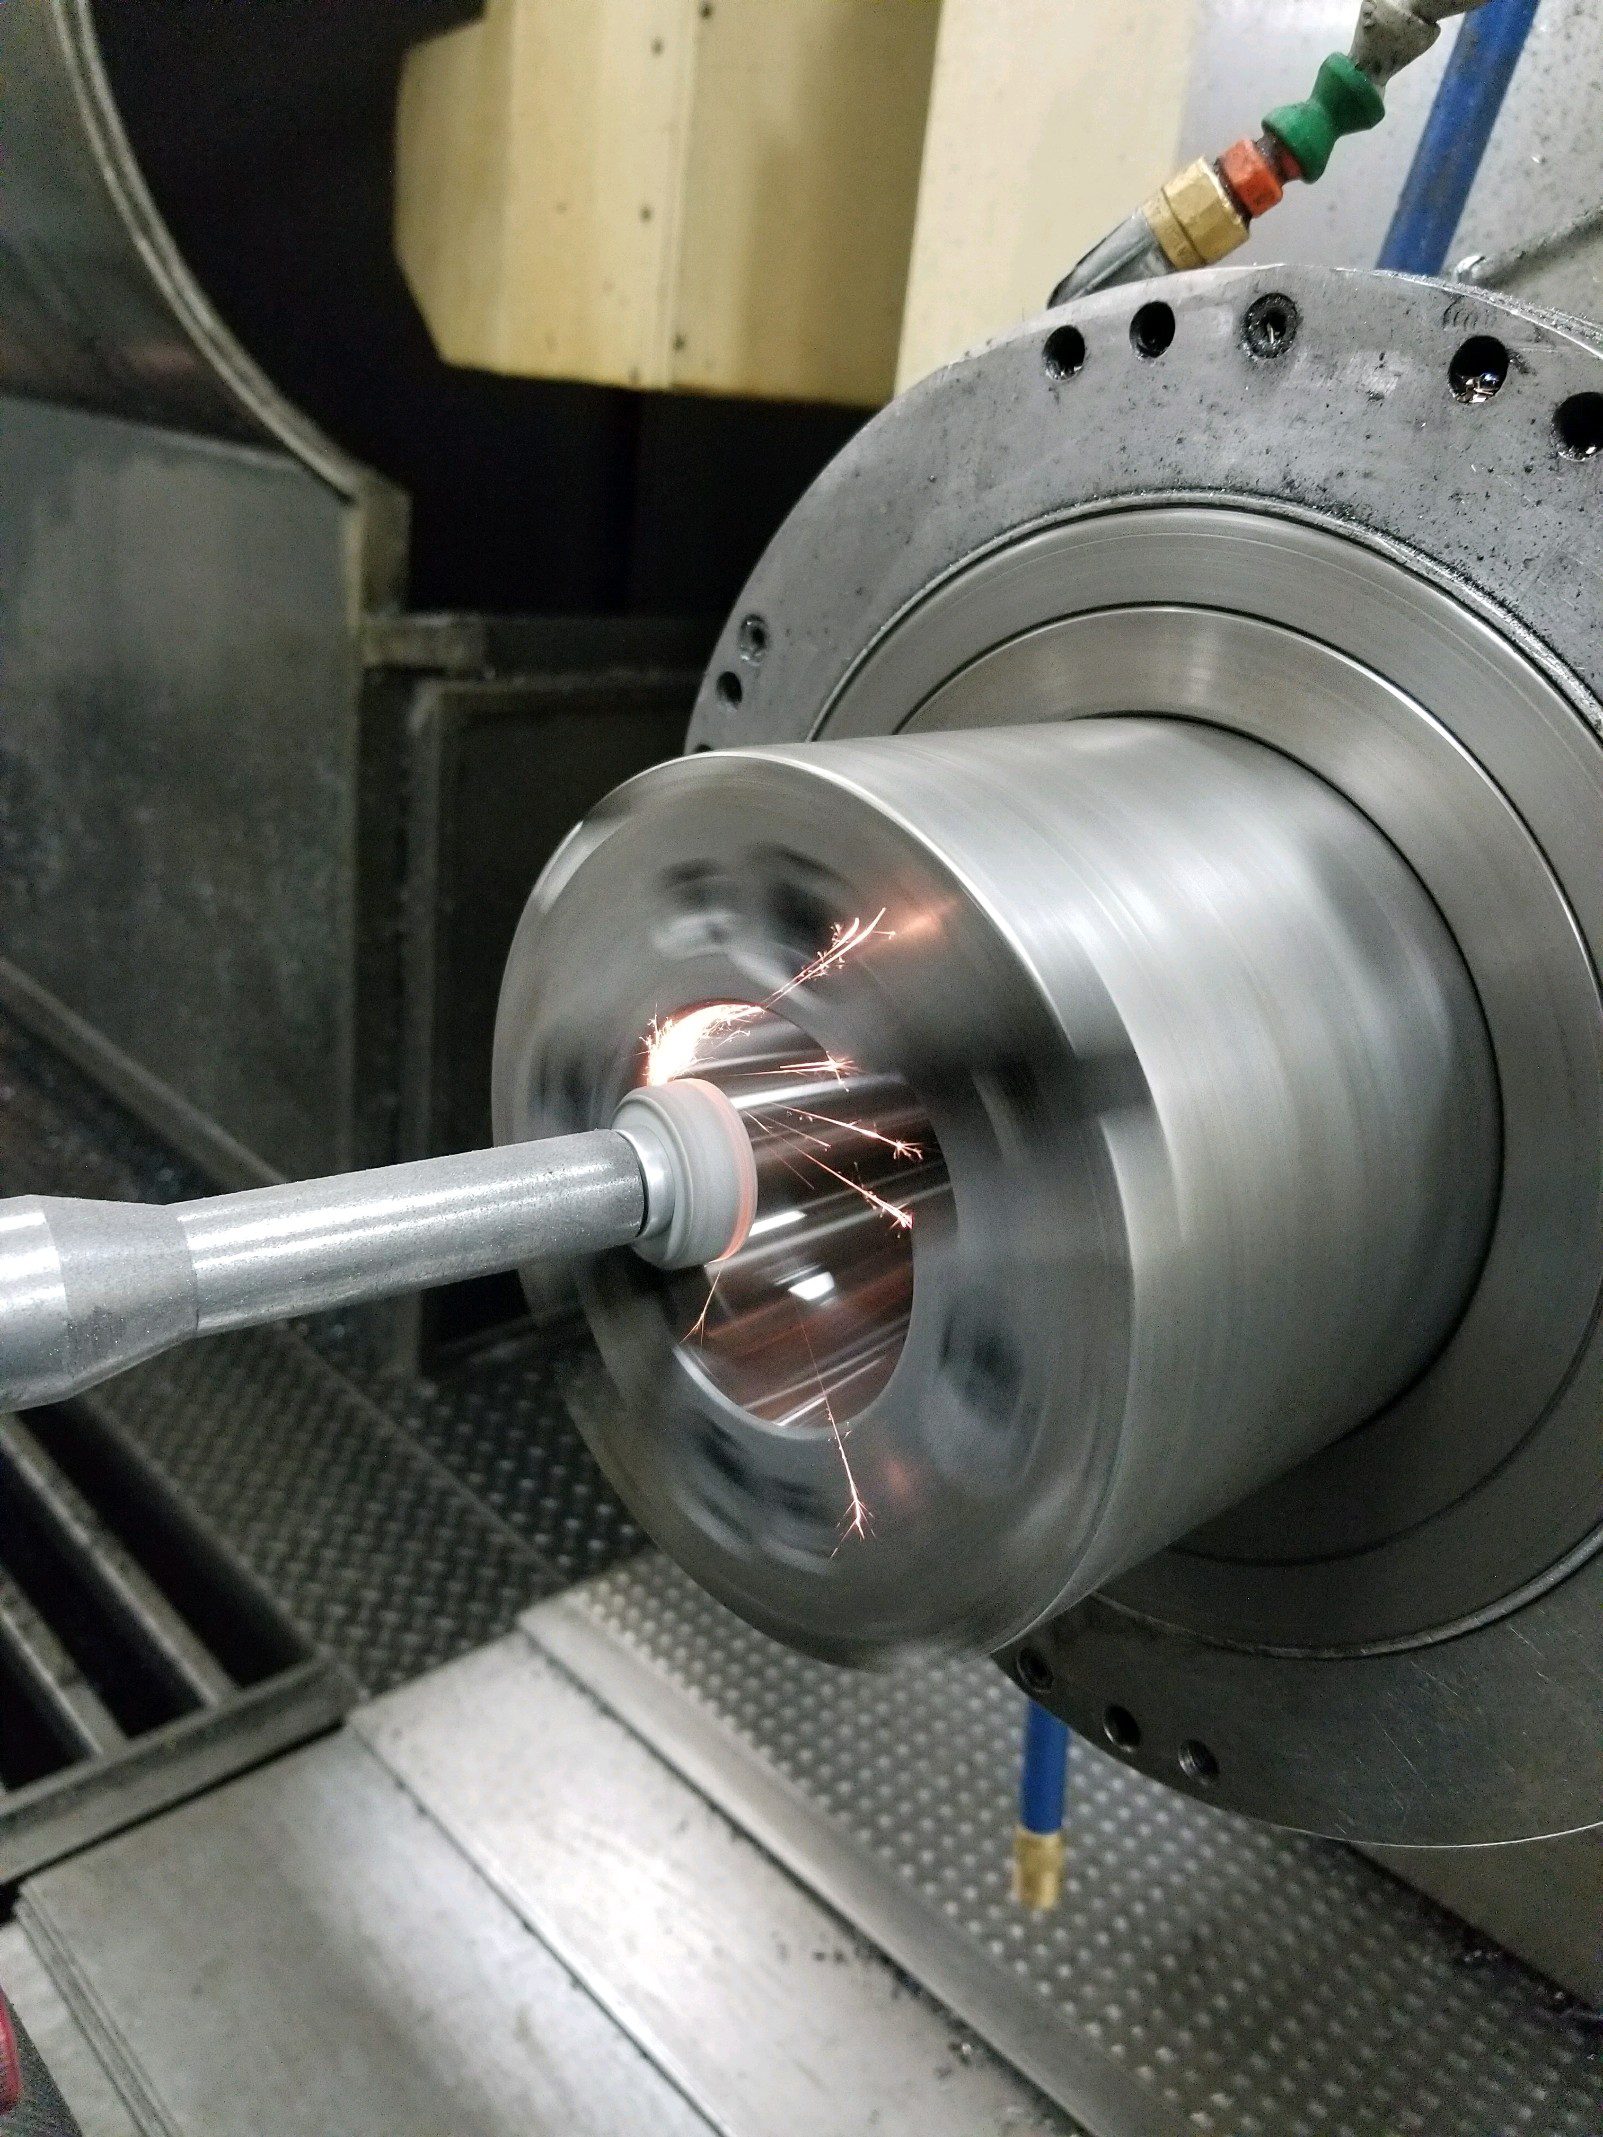
Gunn Machine & Tool Co. offers expert on-site spindle taper grinding and spindle taper repair services, restoring your machine’s spindle precision and accuracy. Our grinding units feature a set-up gauge, which is indicated in your machine’s spindle. This sets the proper geometry for grinding the seat, regardless of the machine’s alignments.
Rotating the spindle during grinding guarantees concentricity with bearing rotation, eliminating tolerance stacking and providing the most accurate taper seat. We’ve even used this method for new spindles when manufacturers require exceptionally close tolerances.


Spindle Grinding Process
- Pre-grind spindle inspection includes:
- Visually inspect for damage, including taper seat, face, and keys.
- Determining the amount of contact area using a precision taper gauge.
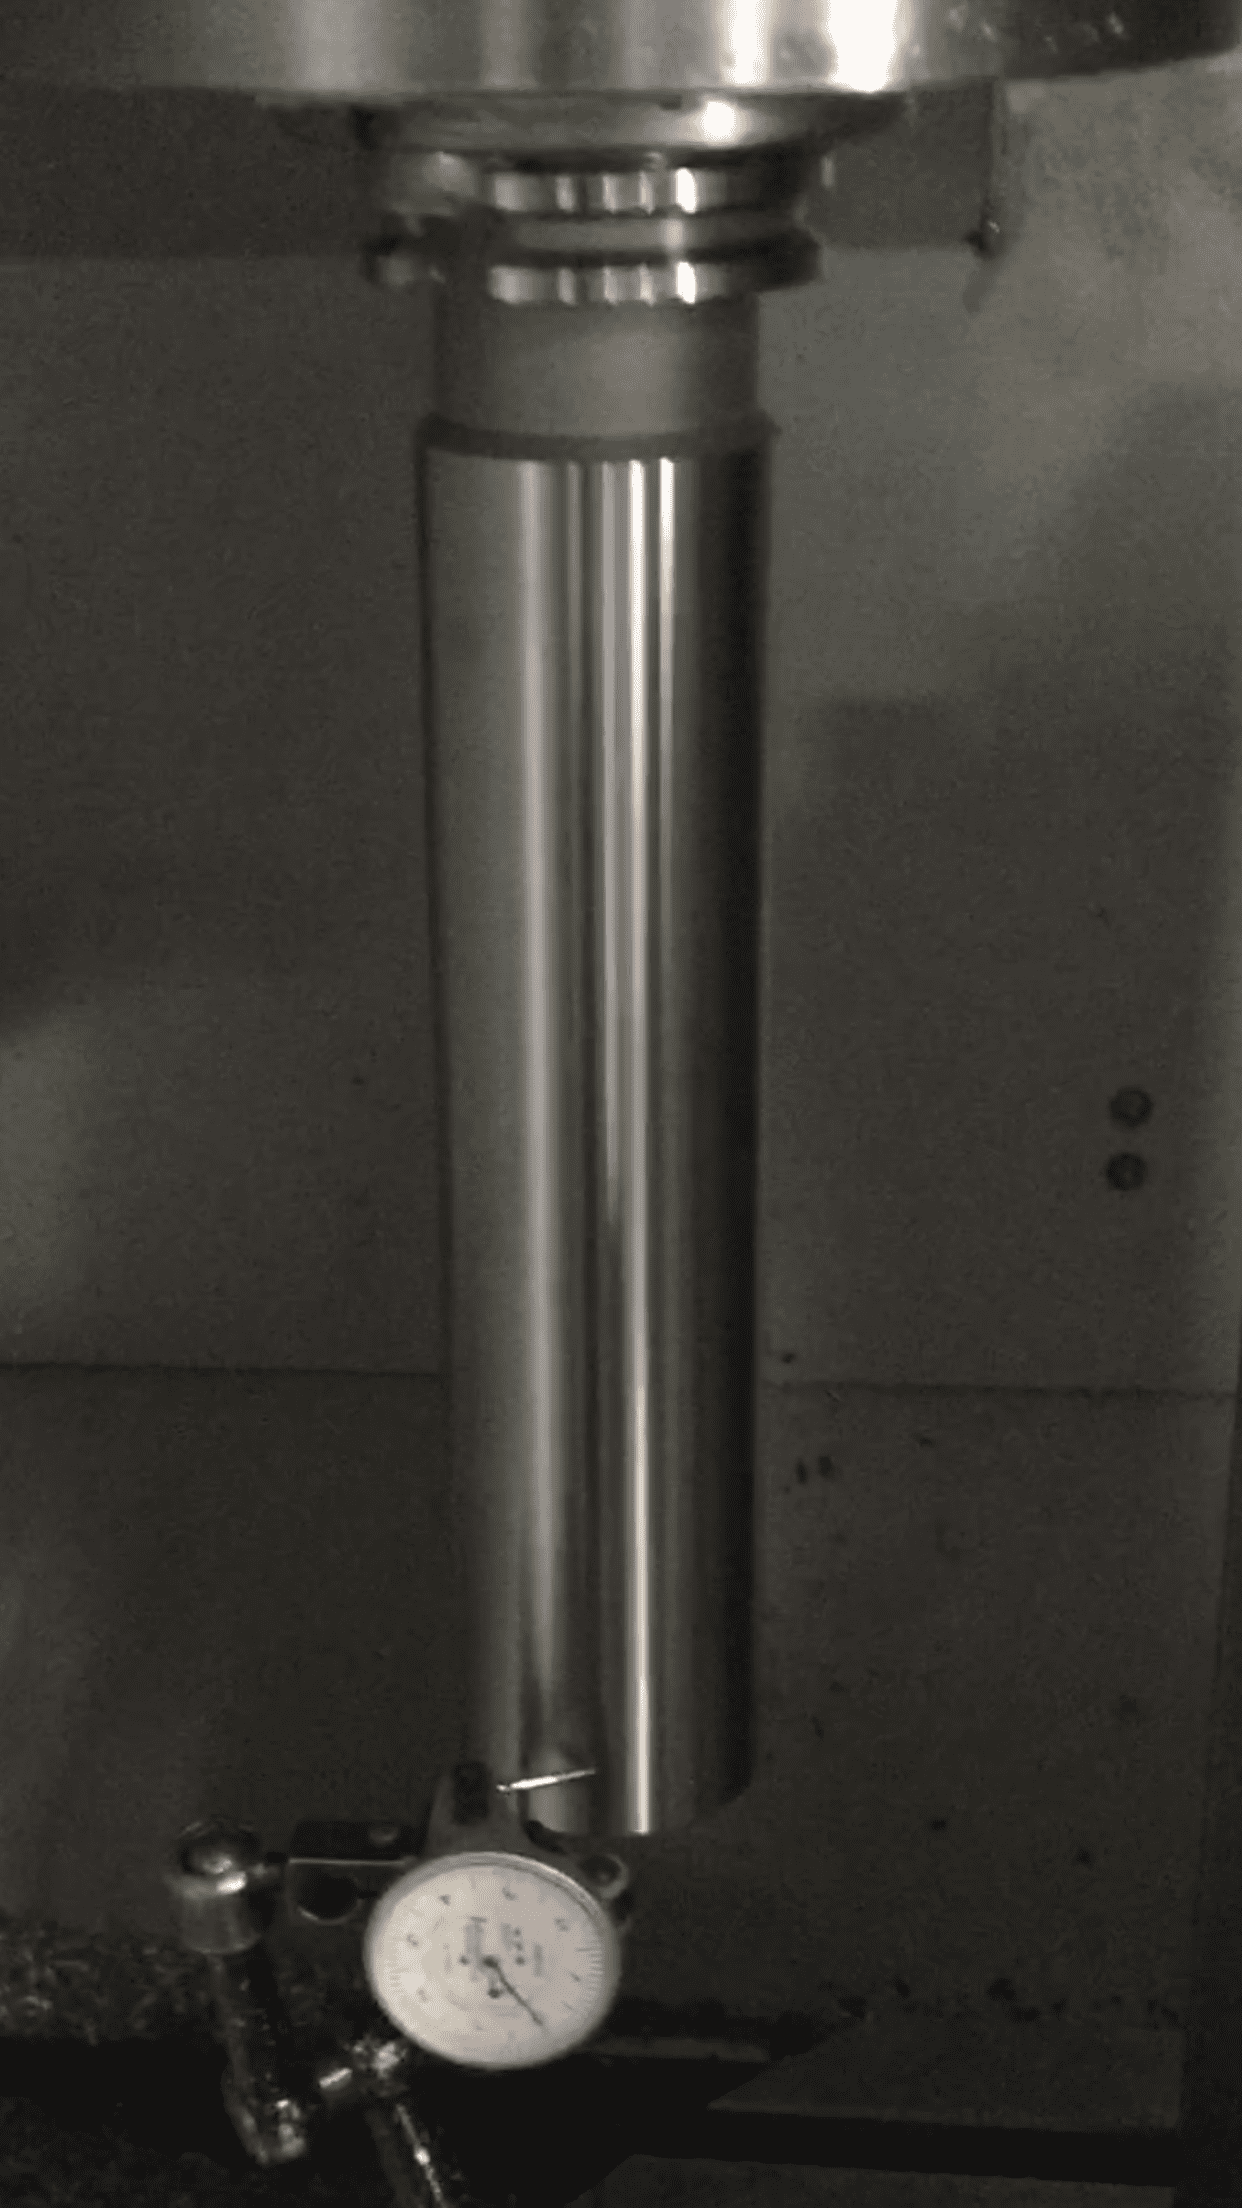
- Check spindle run-out using precision test bar & indicator.
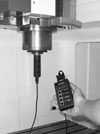
- Check drawbar clamping pressure using the ForceCheck test gauge.
- Note any problems seen, such as bearing.
- Set up and grind taper seats for proper contact & run-out:
- During the grinding process, we continue inspecting the spindle to ensure minimal stock is removed.
- Final inspection:
- Check contact, run-out, clamping pressure, and visual appearance.
- The final inspection report is filled out with before and after grind results, as well as any notes that may apply. A copy of the report is given to customers for their records.
A good indication of the bearing condition can be ascertained by grinding in place, and any problems seen by our technician will be reported. Contact us for CNC repair.
